 Your joyful inspirations — letter boards, dry-erase and tidy tables for home and the classroom
How to run a worksheet centre with dry-erase pockets
One photocopy, a whole term of practice. Dry-erase pockets are the simplest paper-saving trick in a classroom or homeschool, and a little setup makes them run themselves.

Step 1: choose your colours
Give each group or subject its own pocket colour. Our 30-pack comes in ten colours, which covers most rooms; the 55 and 70 packs are sized for two or three classes sharing a supply cupboard.
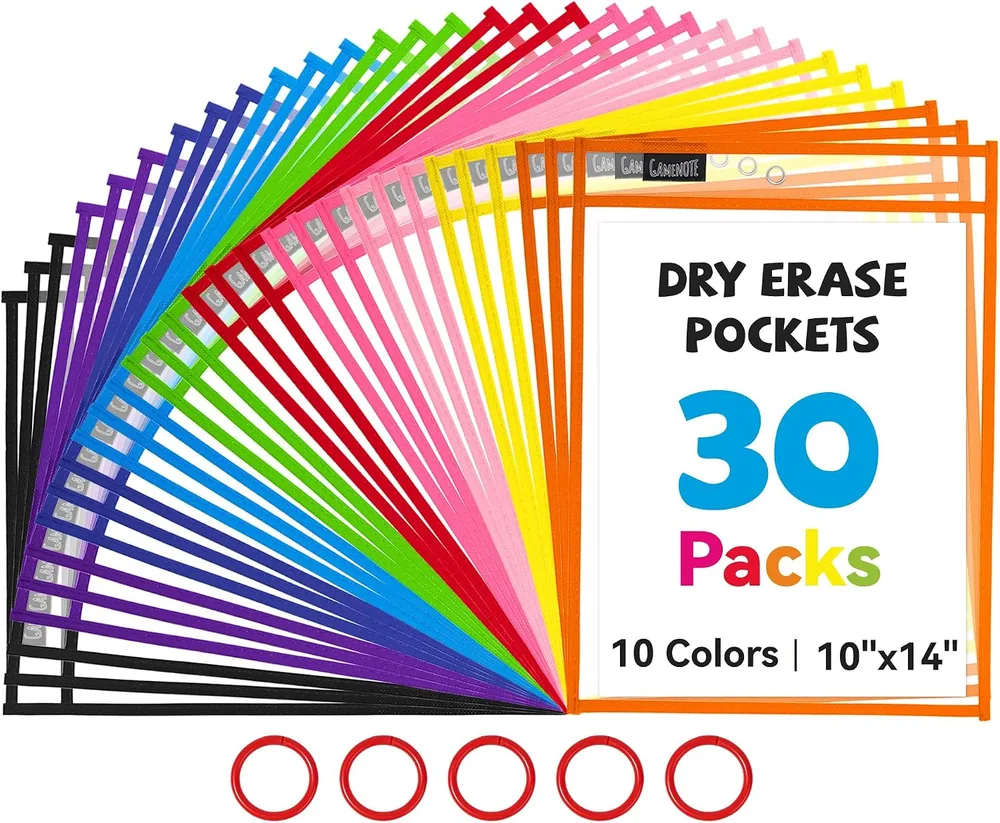
Dry-Erase Pockets 10 × 14
Clear write-and-wipe sleeves that fit letter-size and 9 × 12 worksheets, with rings and pen loops.
4.8 out of 5 starsStep 2: load the pockets
Slide one worksheet into each pocket. The 10 × 14 in sleeves have an inner area of about 9.5 × 11.8 in, so letter-size and 9 × 12 pages go in and out without catching. Double-sided sheets work too — the pockets are clear on both faces.
Step 3: ring them together
Every pack comes with metal rings. Thread one activity set per ring through the eyelets and hang it on a hook at the centre. Students take a pocket, work, wipe, and return it to the ring. Clip a marker to each pen loop so the tools never get separated.
Tip from our table: wipe with a dry tissue straight after use. Marker left overnight still comes off, but a quick wipe keeps the pockets looking new for longer.
Step 4: add a modelling board
At the front of the room, model the same page on a big lined surface. Our giant magnetic lined whiteboard (22 × 28 in) has the same line rhythm as a child’s handwriting sheet, so what they see is exactly what they copy.
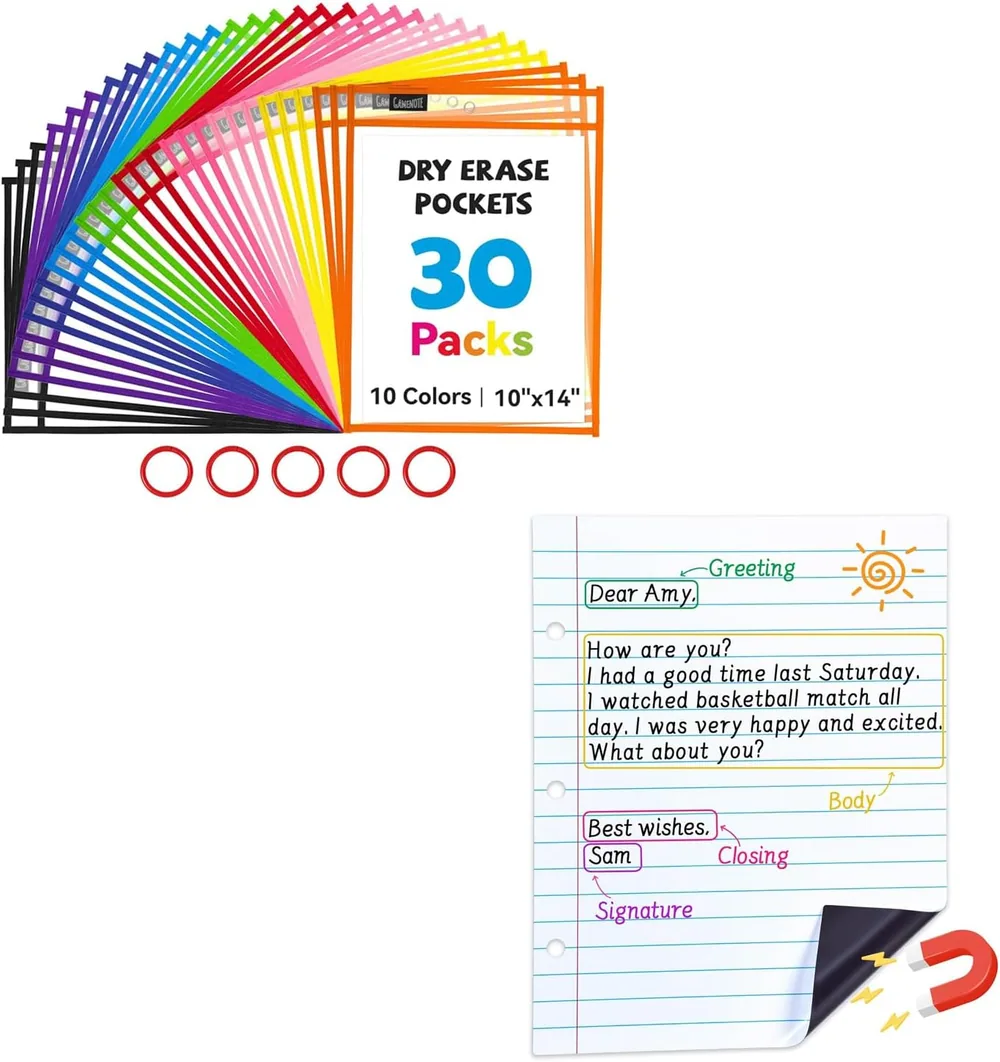
Dry-Erase Pockets & Giant Lined Whiteboard
30 coloured pockets for the students, one giant magnetic lined sheet for the teacher.
Step 5: lap boards for quick checks
End the centre with a one-question check on the lap boards: everyone writes, everyone holds up. You see the whole group’s understanding in three seconds.
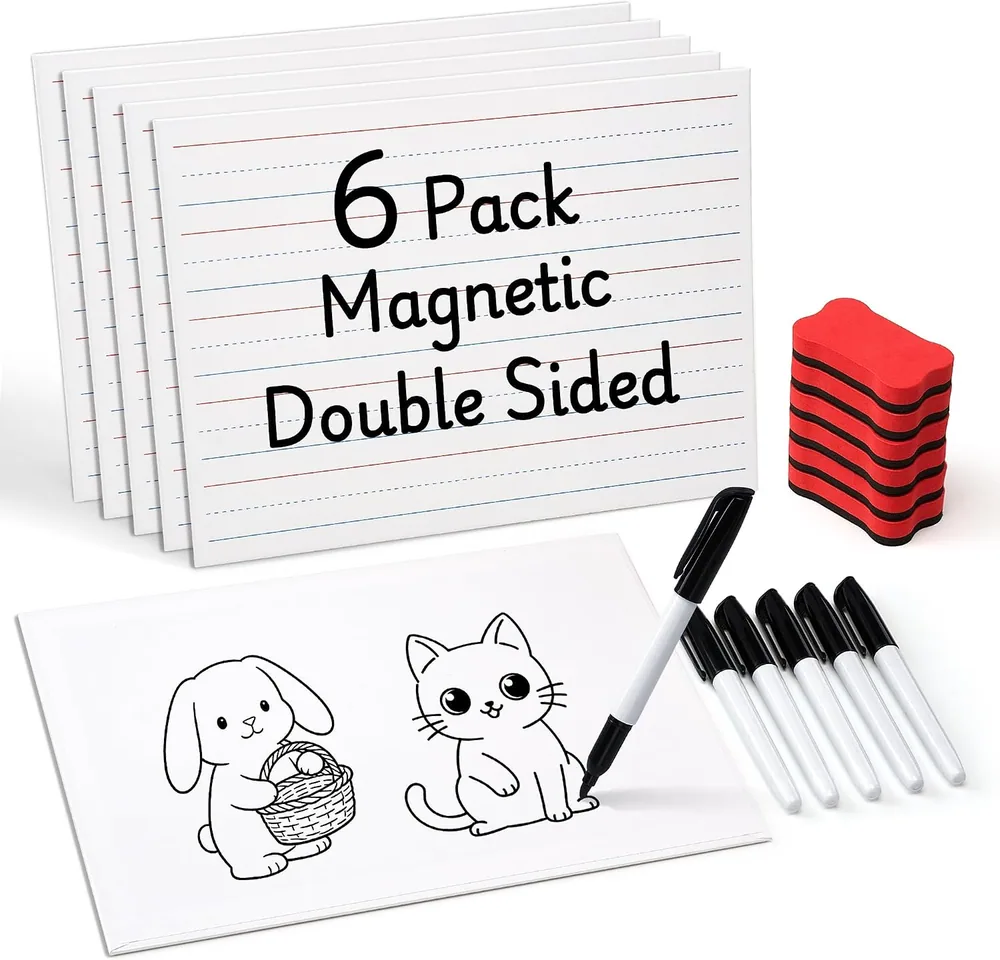
Magnetic Dry-Erase Lap Boards 9 × 12
Lined on one side, blank on the other; markers and erasers for every board.
4.6 out of 5 stars